
How to Turn Fictional Places into Cinematic Environments
Turn written fictional places into cinematic environment clips: pick the defining location, write prompts as shots, sell scale, and finish the file.
 UrwaTools Editorial Updated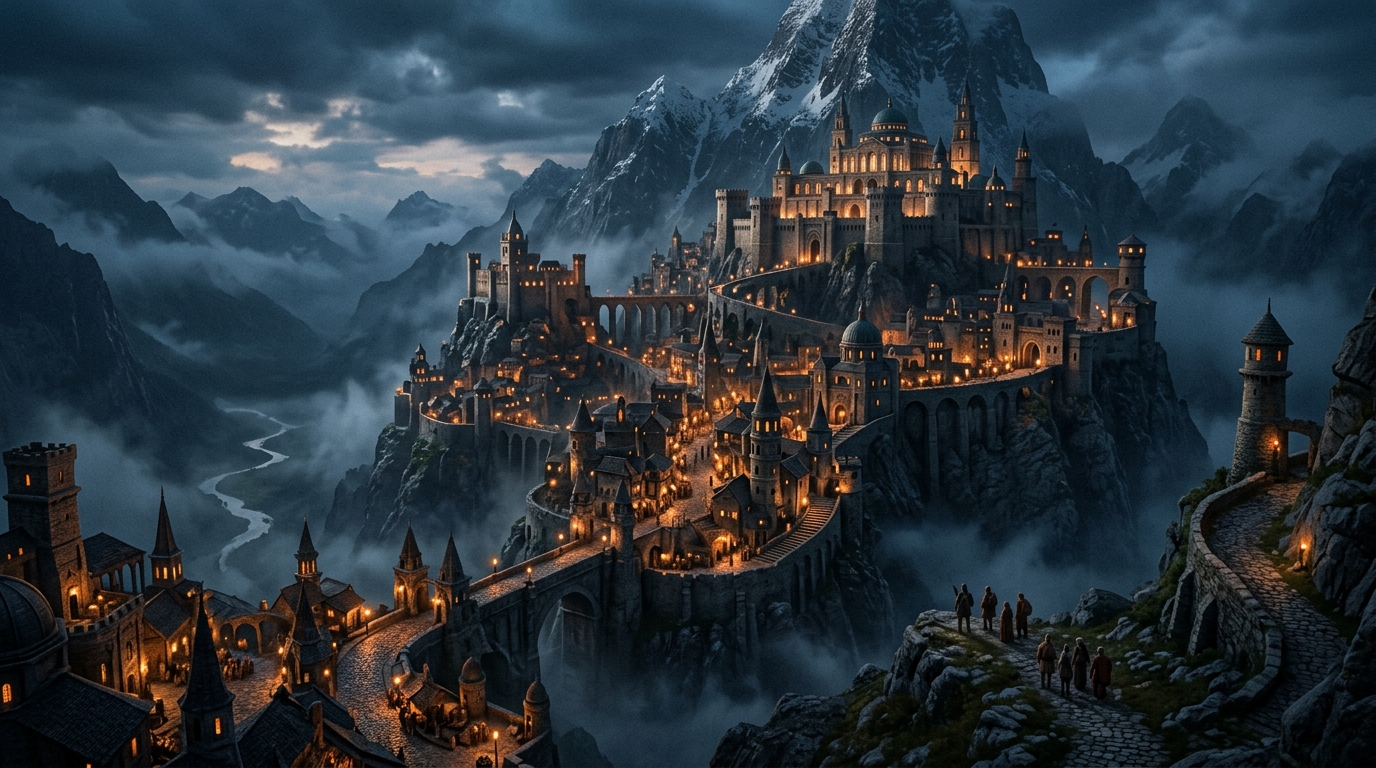
Contents
Turning fictional places into cinematic environments is mostly a translation problem. A world starts as prose — a city built into cliffs, a forest that hums faintly at night, a tower nobody is supposed to enter — and prose lets a reader fill in the gaps. A moving shot does not. It has to commit to a time of day, a weather condition, a camera position and a sense of how big everything is.
That commitment is what separates a piece of concept art from something that reads as a location in a film. Text to video generators have made the render part fast, and models like Dreamina's Seedance 2.5 handle atmosphere and layered motion well enough that a written place can arrive on screen with real depth. The hard part is still the decisions you make before you type the prompt.
This guide walks through those decisions: which single location to render, how to write a prompt that behaves like a shot list, how to give a viewer a scale reference, and how to prepare and finish the clip so it is usable in a pitch, a game bible or a campaign session.
Why fictional settings translate so naturally into motion
World-building already accounts for movement, even on the page. Wind moves through a canyon city. Torches flicker along a wall. Fog rolls across a battlefield. Writers describe places in verbs because a place with nothing happening in it reads as dead, which means most written settings are already half a shot before anyone opens a video tool.
That is why a fictional environment works better in video than a still frame ever allowed. Atmosphere is a temporal effect — mist drifts, light falls across something, dust hangs. A static image asks the viewer to imagine those; a five-second clip shows them. If you have written a place well, you have already specified most of what a generator needs.
Pick the one location that defines the world
Nearly every fictional world has a single location that carries its identity, and that is the one worth rendering first. Covering the whole map in one clip leaves every location underexplored. One place, fully realised, says more about your world than a montage of six.
Three categories tend to render especially well:
- A threshold. A gate, a bridge, a cliffside path — anywhere a character crosses from one state of the world into another. Thresholds give the camera a natural direction to travel.
- A landmark with visible history. Ruins, an ancient structure, a wall that has been repaired badly and often. Wear tells the viewer the world existed before the shot started.
- A quiet, atmospheric corner. Counterintuitively, a small space with strong light often sells a world better than its largest set piece, because the viewer can actually read the detail.
If you are still deciding which location deserves the render, write the candidate scenes out first and compare them cold. An AI story generator is useful here as a drafting partner: generate two or three short passages describing the same place from different angles, then keep the one whose imagery is most concrete. Whatever survives that comparison becomes the seed of your prompt.
What makes an environment prompt feel cinematic
A flat prompt lists nouns — castle, forest, dragon. A cinematic prompt describes a shot. It names the light, the weather, the scale, and above all how the camera moves through the space. "A slow push forward through mist" is a directive a model can act on; "an epic fantasy city" is not.
Use this as a checklist when you draft:
| Prompt element | Flat version | Cinematic version |
|---|---|---|
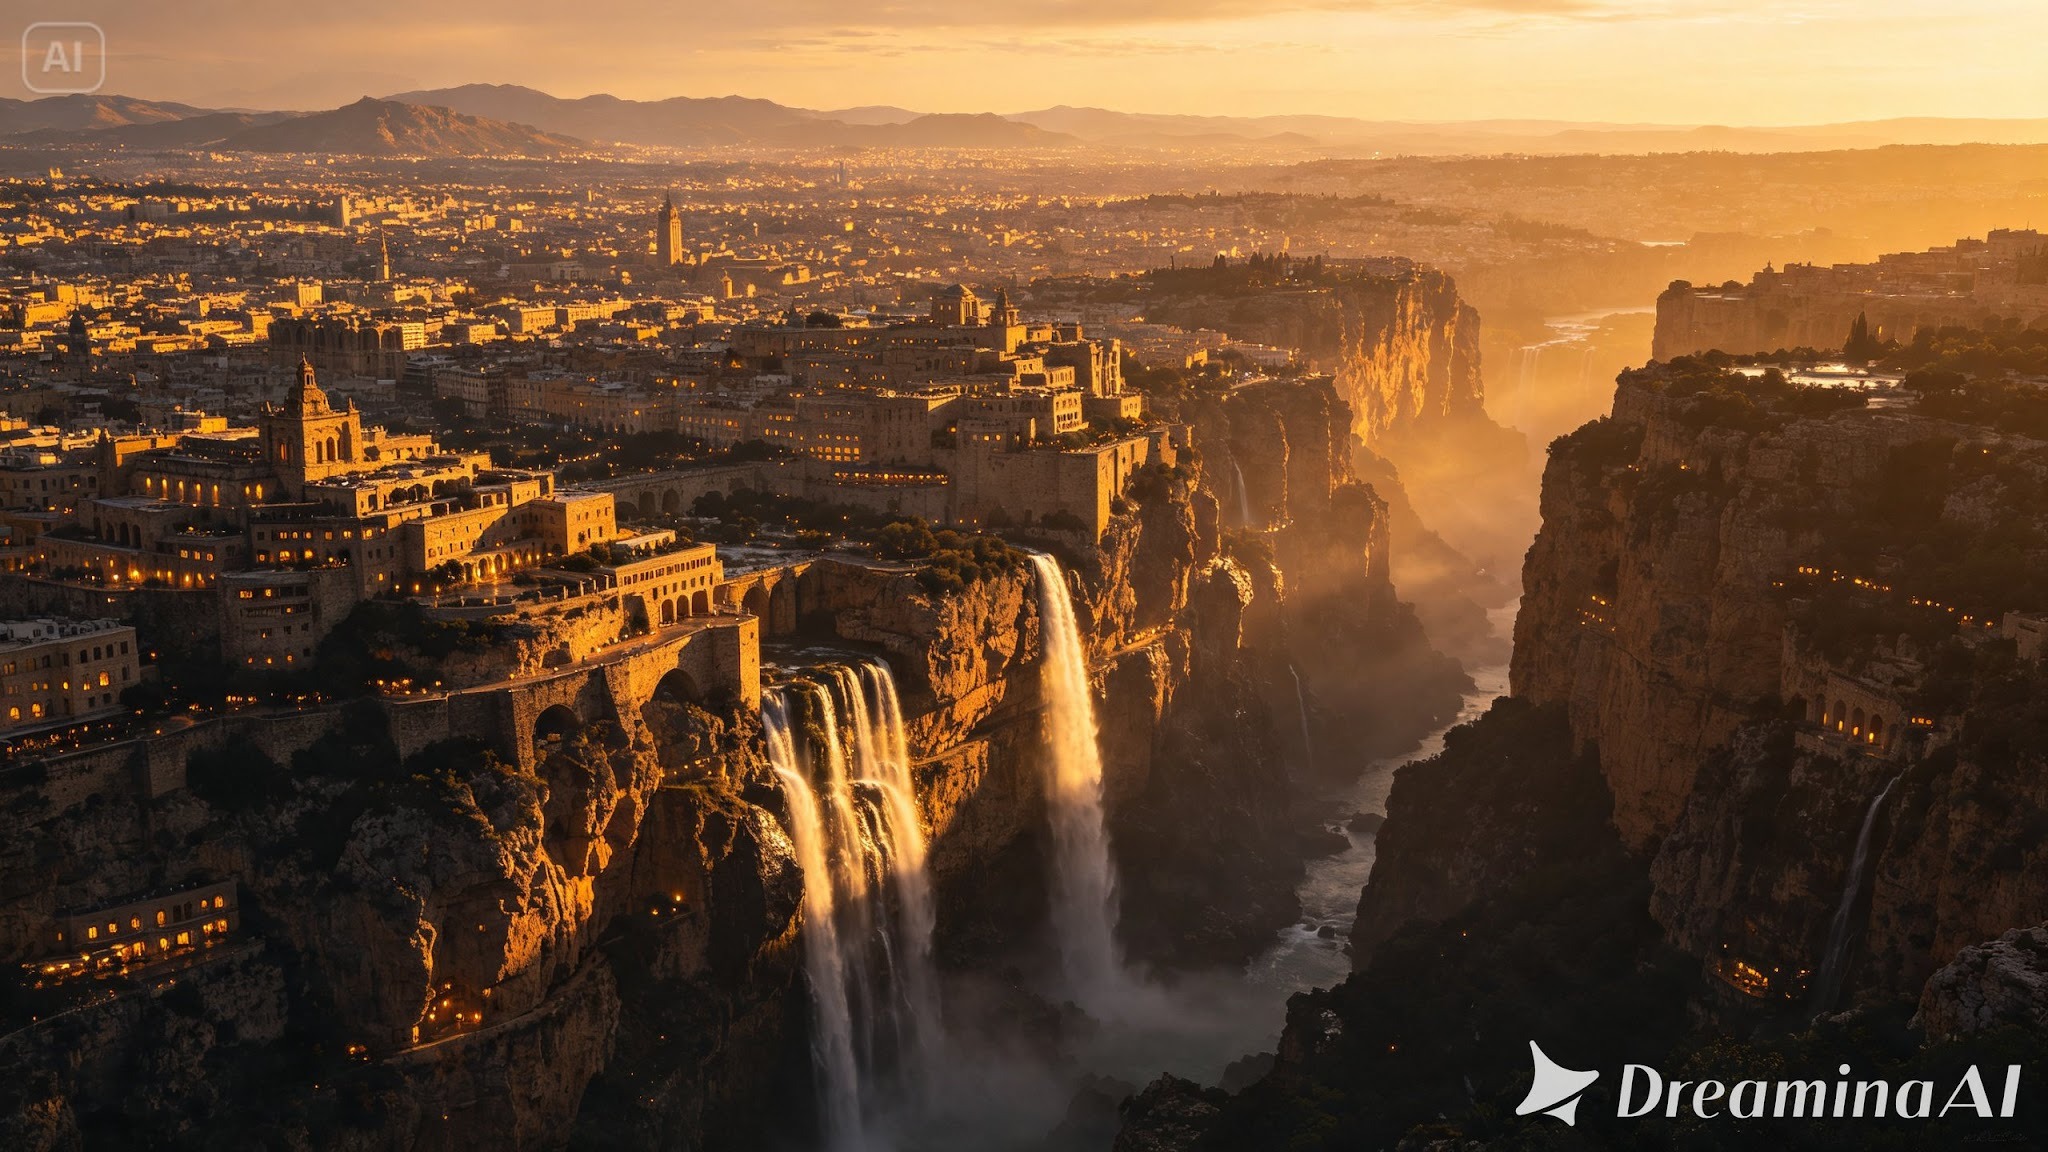
| Subject | A fantasy city | A city carved into a limestone cliff face, terraces stacked twelve deep |
| Light | Nice lighting | Low sun raking across the cliff, long shadows filling the lower terraces |
| Weather | Moody | Thin sea mist drifting up the cliff, thickening near the base |
| Scale cue | Enormous, massive | A single fishing boat crossing the water far below the lowest terrace |
| Camera | Cinematic shot | Slow forward push through the mist, then a rise to reveal the full skyline |
| Lens feel | — | Wide angle, shallow haze, slight handheld drift |
The right-hand column is not longer for its own sake. Each line removes a decision the model would otherwise make randomly, which is why two runs of a vague prompt look like different worlds while two runs of a specific one look like two takes of the same shot.
Scale only reads when something familiar is in frame
This is the single most common failure in generated environments. A viewer cannot judge how tall a floating tower is, because they have never seen one. Words like "massive" and "colossal" do nothing — the model has no reference for them either.
What works is putting something of known size in the frame. One person walking across the bridge. A boat below the cliff city. A bird circling the tower's apex. A door, a cart, a flight of stairs. The viewer measures the impossible thing against the ordinary one and the scale lands instantly. Name that element explicitly in your prompt rather than hoping the model adds it.
From written description to finished environment: the workflow
- Lock the tone and palette before anything else. Decide whether the world is hopeful or ominous, then choose the light that follows: warm and open, or shadowed and tightly framed. If your project already has key art, sample its dominant colours with a color picker and name those hues in the prompt so the clip matches the rest of your material.
- Prepare a reference image if you have one. Concept art, a rough sketch or a still you generate with an AI image generator all work as a starting frame. Most video tools cap the resolution or file size of uploads, so bring it to spec first with an image resizer, and run an oversized file through an image compressor so it uploads cleanly without visible artefacts.
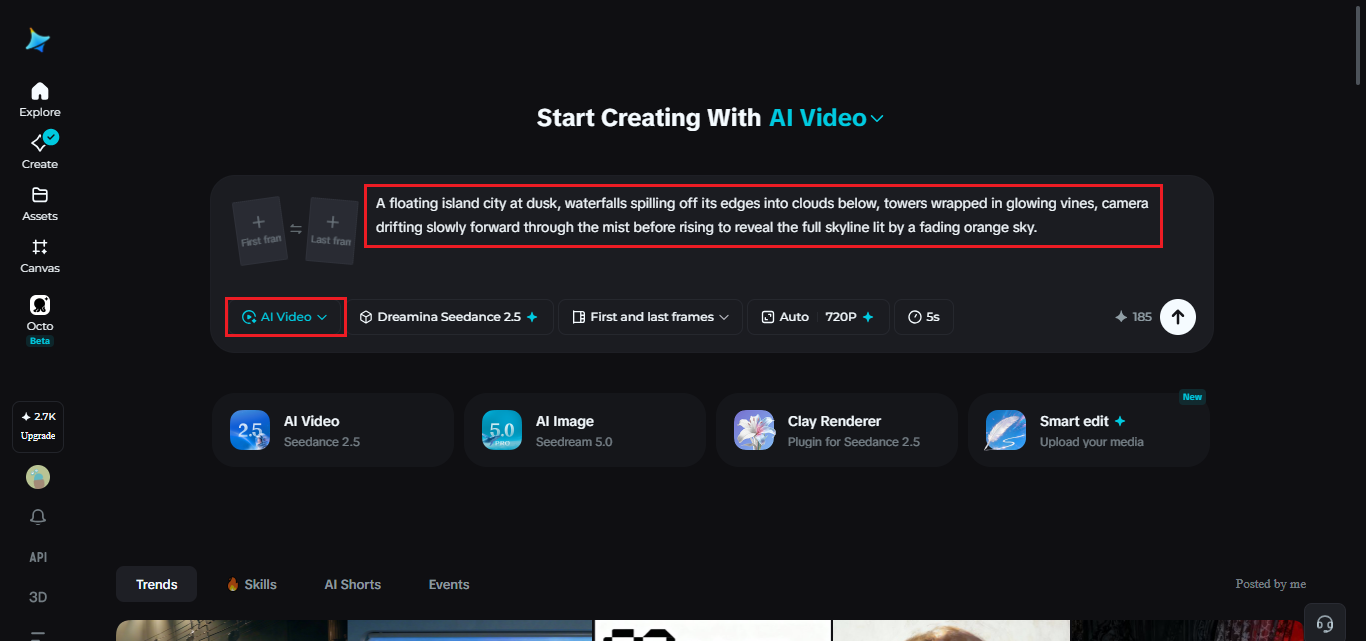
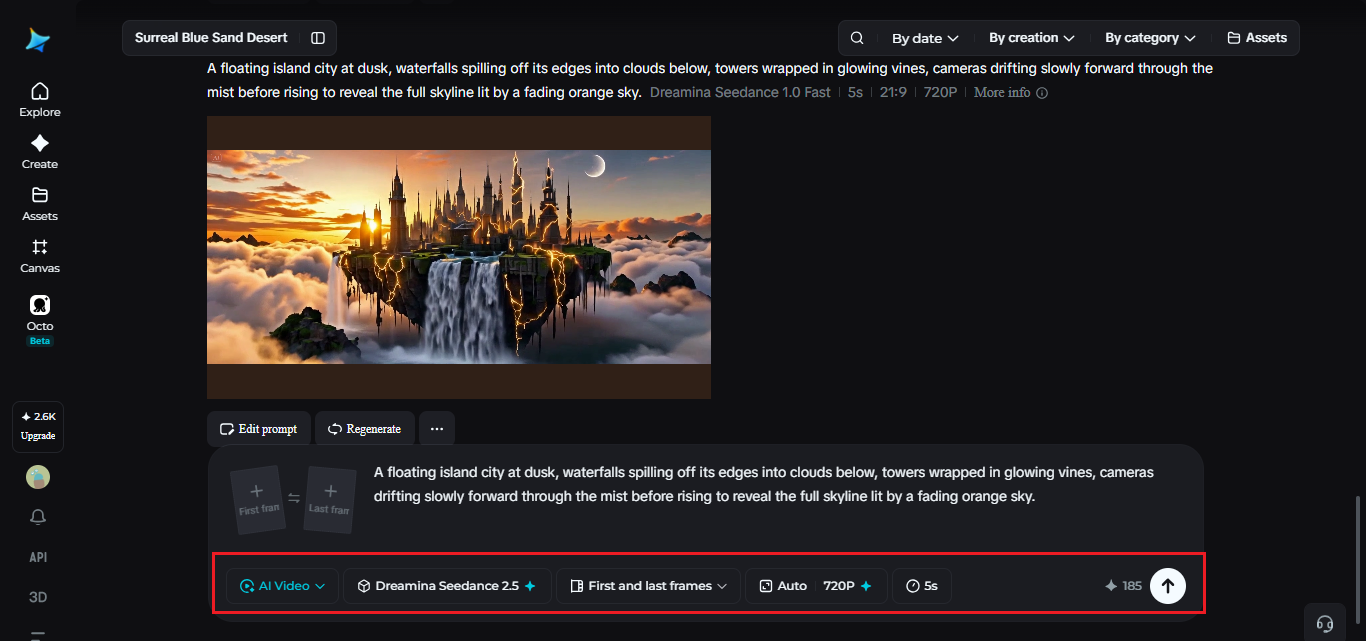
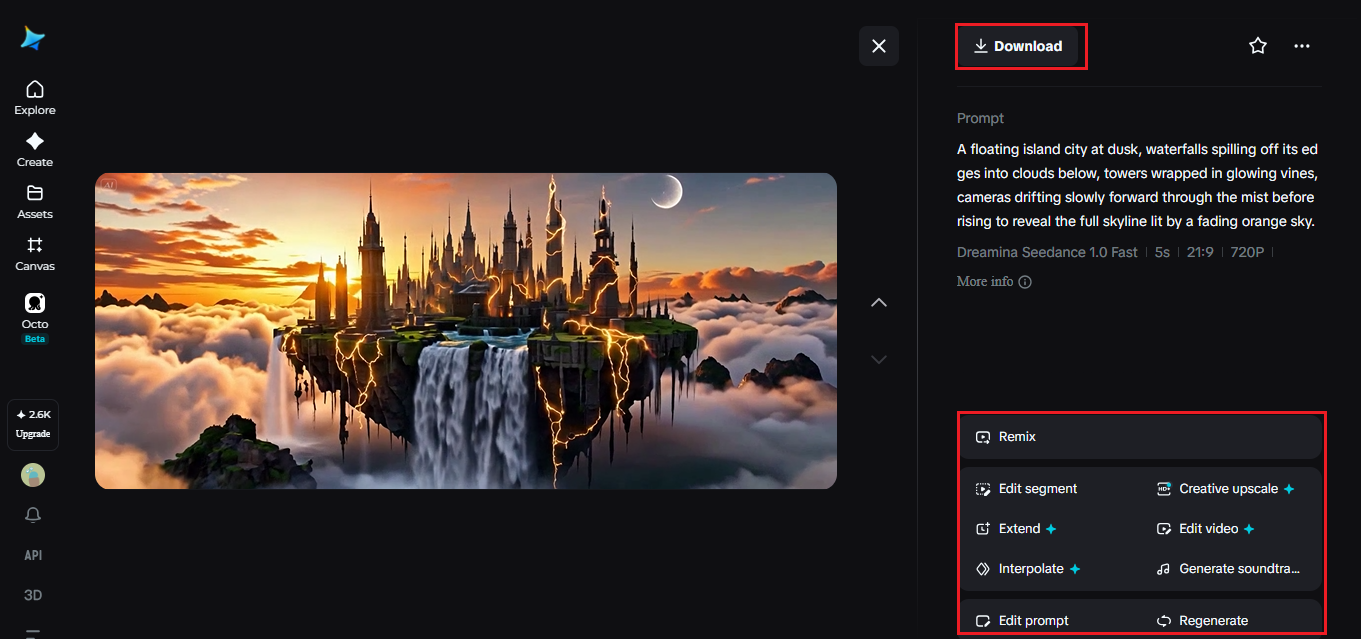
- Write the prompt as a shot, not a description. Open the AI video section of your chosen tool, upload the reference if you have one, and write out subject, light, weather, scale cue and camera move. A worked example: a floating island city at dusk, waterfalls spilling off its edges into the clouds below, towers wrapped in glowing vines, camera drifting slowly forward through the mist before rising to reveal the full skyline against a fading orange sky.
- Choose the model and the frame. Pick a model suited to layered environments and slow camera movement — Seedance 2.5 is built around exactly that kind of shot — then set a duration that matches the move you described. A push-and-reveal needs longer than a static drift. Choose 16:9 for a cinematic read, or a vertical ratio only if the clip is destined for a social feed.
- Generate several takes, not one. Treat each generation as a take. Change one variable at a time — light direction, then camera speed, then the scale element — so you can tell which change improved the shot.
- Refine, then finish the audio. Upscaling sharpens architectural and environmental detail that reads as mush at base resolution. An ambient score matched to the world's tone does more for atmosphere than any extra visual element. If you want to reuse a soundbed you already have, you can pull it out of an existing clip with an audio extractor.
- Export in the format the destination actually wants. Deliverables differ, and this is where good clips get mangled — covered in the section below.
What newer video models changed for environment work
Environment shots used to be the easy case for AI video, precisely because nothing complicated was moving. The moment you added a figure crossing the bridge — the scale cue that makes the shot work — older models tended to fall apart. Recent releases, Seedance 2.5 among them, are aimed squarely at that gap.
Reference-driven direction
Being able to feed in live-action footage or blockout geometry from 3D software gives you control that text alone cannot express: exact contact points, angles, and how a figure occupies the space. For environment work this matters most for the scale element — you can place the person on the bridge rather than describing where you hope they end up.
More reliable figures in frame
Duplicated people and swapped faces were a persistent failure in multi-figure shots, which is why so many early environment clips were conspicuously empty. Newer models handle several figures in one frame far more consistently, so a populated street or a crowded terrace is now a realistic ask rather than a gamble.
Local edits instead of full re-renders
Being able to remove or change one element — a bag, a pair of glasses, a piece of set dressing that reads wrong for the period — without re-rendering the whole shot changes the economics of iteration. A near-perfect take is now fixable instead of discarded.
Mood and lighting decide more than any object you add
A fictional environment's mood has to match the story built around it, and that decision has more effect on the final clip than any prop. A hopeful world wants warm, open light and space above the horizon. An ominous one wants shadow, tighter framing, and a light source you can see but cannot reach.
Settle the tone before writing the prompt, because it changes every other choice: the time of day, the weather, the camera height, even how fast the move should be. Slow camera movement reads as reverence or dread depending entirely on the light it travels through. Adding a lantern, a banner or a statue afterwards will not rescue a shot lit for the wrong mood.
Consistency matters across a set of clips too. If you are producing several environments for the same world, keep the palette, haze level and sun angle within a narrow range so the locations feel like they share a planet. Naming the same colour values in every prompt is the cheapest way to enforce that.
Finishing and delivering the clip
A finished environment shot rarely goes straight out as-is. Match the file to where it is going.
| Destination | What it needs | Practical step |
|---|---|---|
| Pitch deck or email | Small file, plays anywhere | Compress hard; keep it under a few seconds |
| Sequence of locations | One continuous file | Stitch the takes in order, matched for tone |
| Website or wiki header | Silent, looping, lightweight | Export a short loop or an animated preview |
| Editing timeline | Codec your NLE accepts | Convert the container before importing |
| Social feed | Vertical crop, captions | Regenerate at the target ratio rather than cropping |
In practice: shrink a heavy render with a video compressor before it goes into a deck, join several location shots into one sequence with a video merger, and turn a short loop into a lightweight animated GIF when a page header needs motion without a player. If your editor rejects the export, a video format converter will usually settle it faster than re-rendering the shot.
Where creators are actually using these clips
These renders have moved well past concept-art portfolios. Authors pitch a series with a moving location instead of a still. Game studios test the mood of a level before anyone builds geometry, which is far cheaper than discovering the tone is wrong after blockout. Tabletop groups drop a homebrew city in front of players mid-campaign and get a reaction no read-aloud paragraph earns.
The common thread is speed of agreement. A written description produces as many mental images as there are readers. A five-second clip produces one, and everyone argues about the same thing — exactly what you want early in a project.
Frequently asked questions
How long should a fictional environment clip be?
Long enough to complete one camera move and no longer. A slow push and reveal typically needs more room than a static drift, but most establishing shots read fully in a handful of seconds. If a clip feels slack, the problem is usually that the camera stopped moving before the clip ended.
Do I need concept art before I generate?
No, but it helps. A reference frame locks composition and palette so successive takes stay consistent; working from text alone gives the model more freedom and more variance. If you have no art, generate a still first, treat it as your reference, and keep it for later shots of the same location.
Why do my environments look small even when I ask for "massive"?
Because scale adjectives carry no information. Put a familiar object in the frame — a person, a boat, a door, a bird — and name it in the prompt. The viewer measures the impossible structure against the ordinary object, and the sense of size appears without the word ever being used.
How do I keep several locations looking like the same world?
Fix the variables that carry visual identity: palette, haze density, sun angle and lens feel. Repeat the same colour and light language in every prompt, and sample your key art's hues so the values are consistent rather than approximate. Vary the architecture and terrain, not the atmosphere.
What should I change between takes?
One thing at a time. Adjust light direction, then camera speed, then the scale element, keeping everything else fixed. Rewriting the whole prompt after a disappointing render tells you nothing about which detail was responsible, and you end up cycling through unrelated worlds.
Can I use these clips in a commercial pitch?
That depends entirely on the terms of the tool you generate with, which differ by provider and by plan tier. Check the licence for commercial use and any attribution requirement before a clip goes into client-facing material, and keep your prompts and reference files on record.
Bringing the world into view
Building a fictional environment used to mean months of concept work before anyone else could see it clearly. Now the same world can move from a paragraph to a finished, moving location in a single sitting — provided you make the cinematic decisions the prose let you leave open.
Choose the one place that defines the world. Write the prompt as a shot with light, weather, scale and camera. Put something familiar in frame so the size reads. Iterate one variable at a time, then finish and deliver the file in the format its destination expects. Do that and readers, players and collaborators finally see the place the way it always looked in your head.
The UrwaTools Editorial Team delivers clear, practical, and trustworthy content designed to help users solve problems efficiently. Our articles focus on accurac...